
Stents are tiny; the diameter of this one is 5 mm.
Attempting to photograph such a small object would lead to struggles with image sharpness and positioning the stent. These difficulties do not exist when using 3D modeling and rendering.
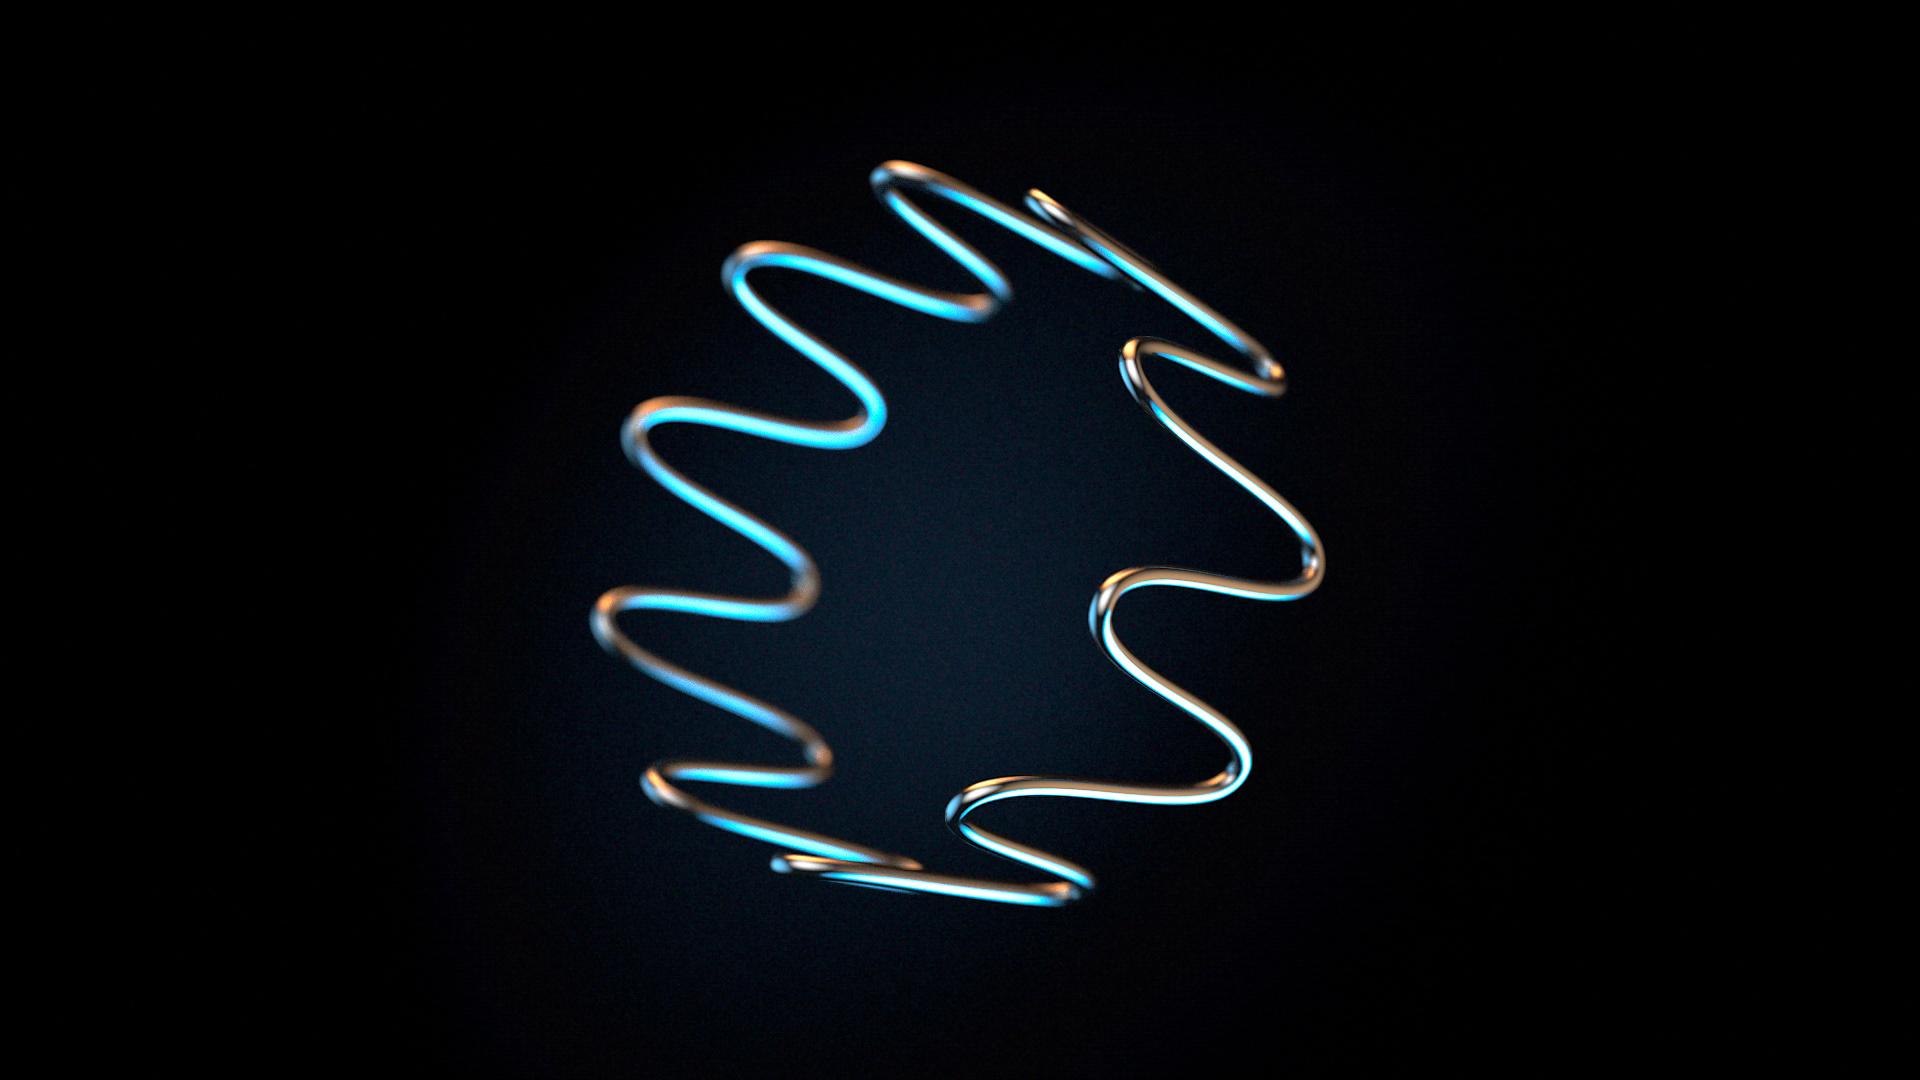
I began the 3D modeling by creating a single ring of wire that bends along a series of repeating curves.
The zig-zag pattern of each ring of the stent allows it to be compressed to a much smaller diameter. The stent is inserted in a compressed state and then allowed to self-expand to the natural shape of the blood vessel.

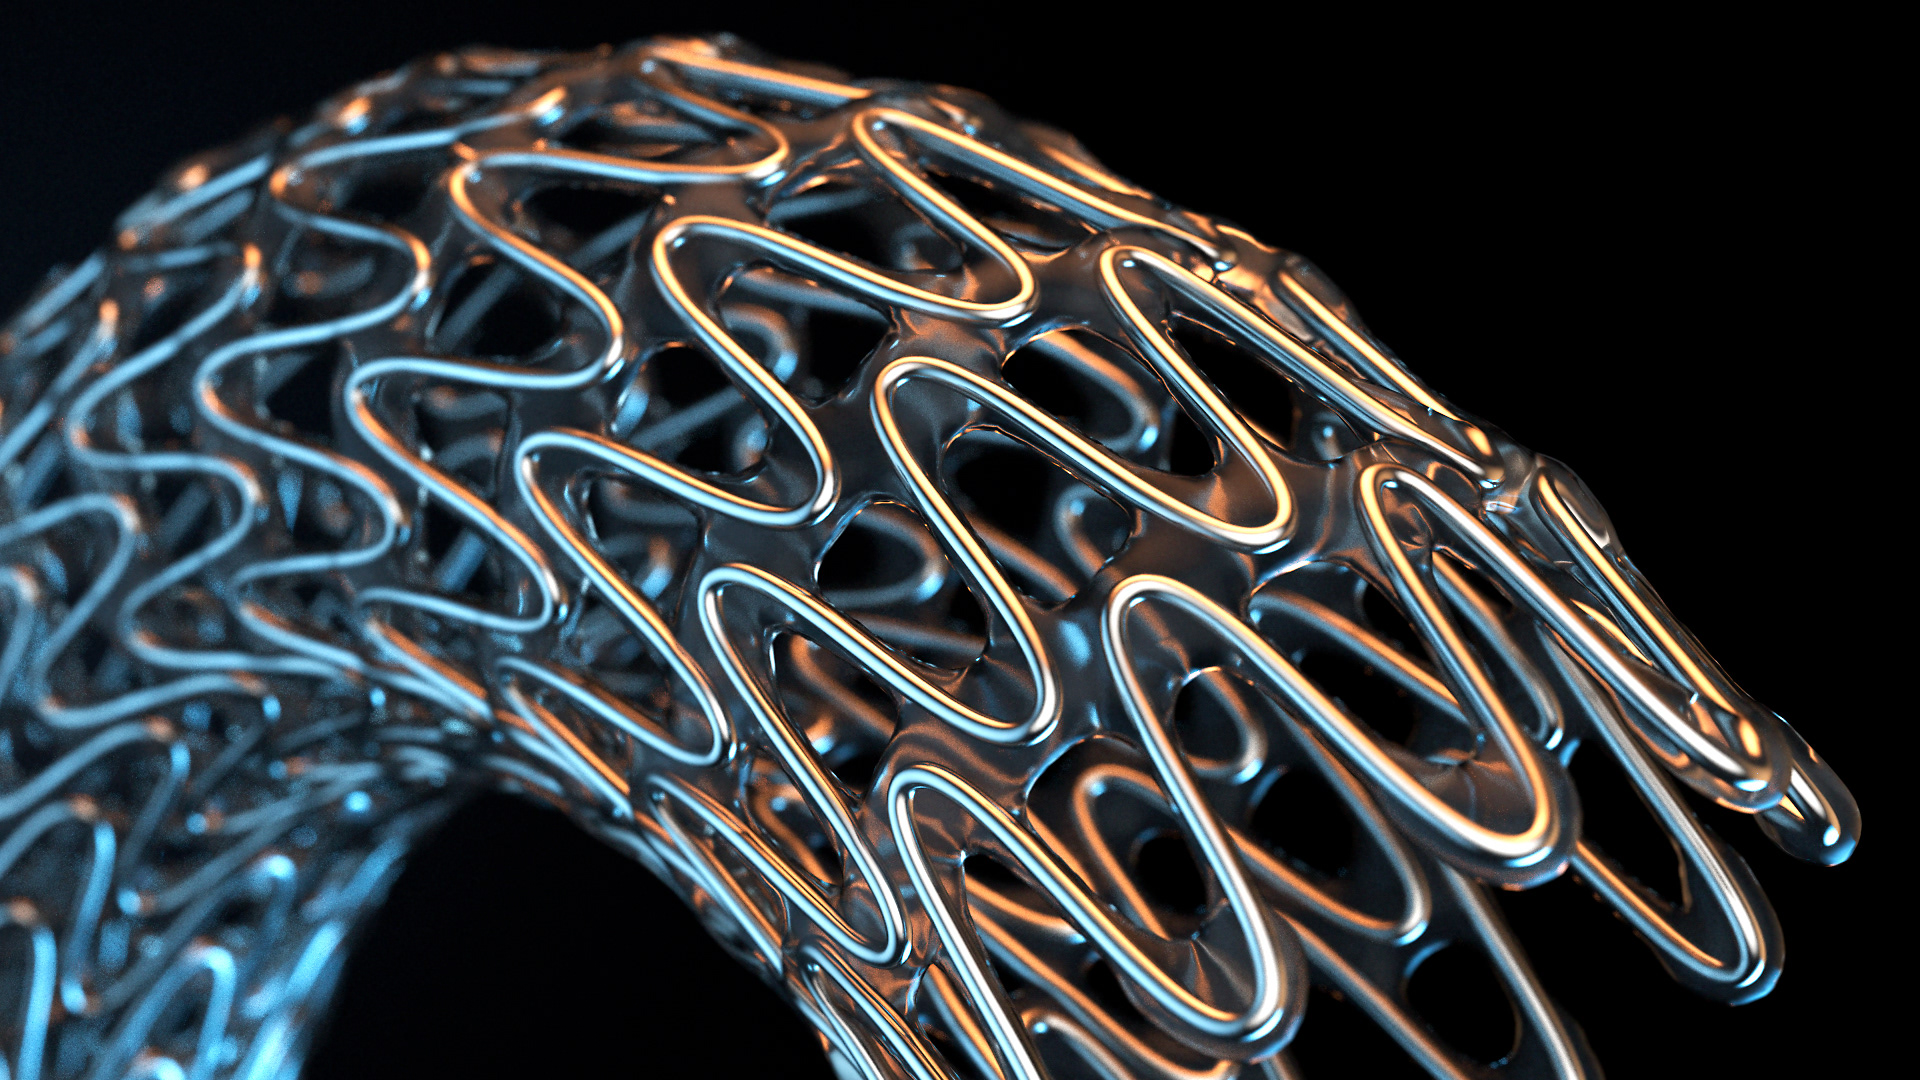
A thin transparent substance connects the wire rings of the stent. This design allows the stent to flex within the blood vessel when the patient is moving.
The creation of the transparent substance connected the rings.
The most difficult challenge of this project was modeling the transparent substance that connects the rings. It needed to cover the rings, but it also needed to be thicker in areas where the wire of one ring approached the wire of another ring. This thickness would prevent the substance from tearing when the stent flexes and the rings move apart from each other. To make a 3D model of it was a two-part process. First, I created a mesh that approximately matched the form of the wires but was thicker. Then, using a tool in the 3D modeling program that can sense where parts of an object are close to another object, I added more thickness in these areas.
When the stent flexes the transparent substance stretches.
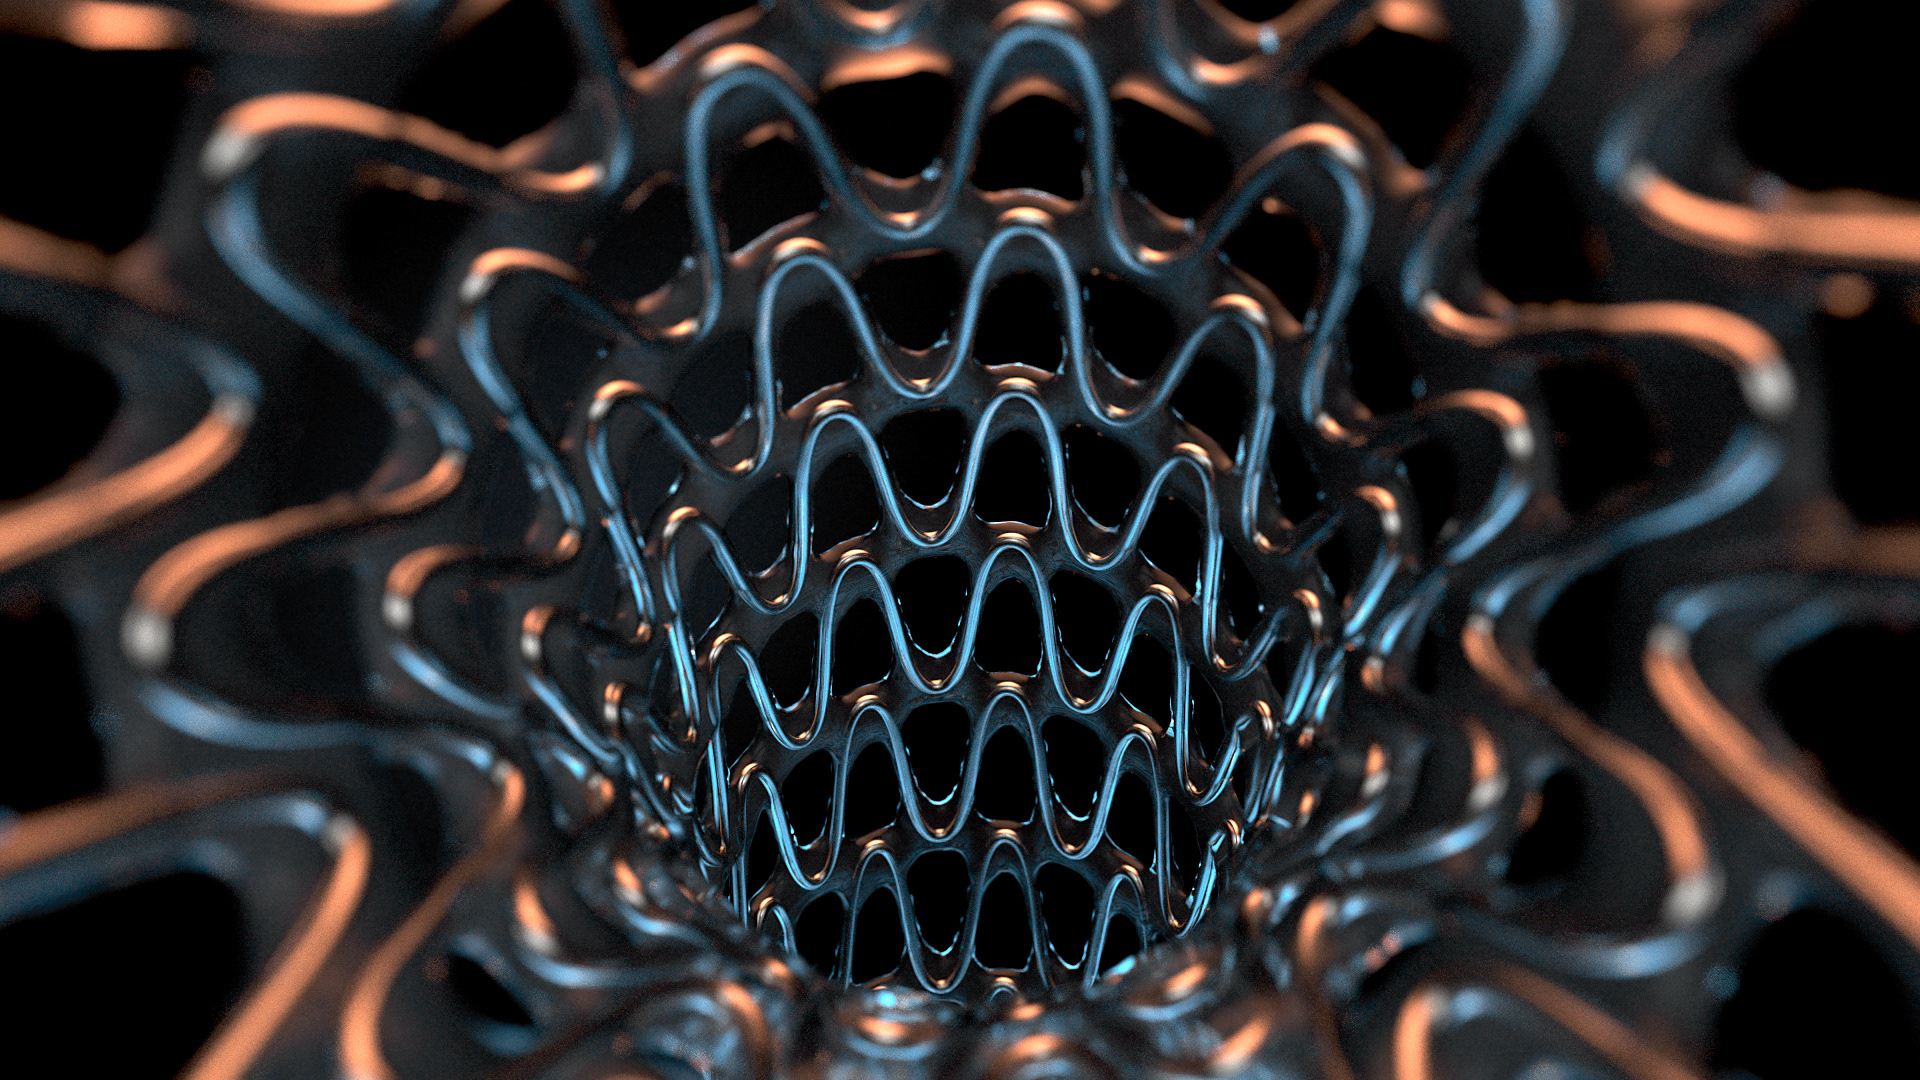
The beginning of the sequence where the camera moves through the stent as if it were a blood cell.
The design of the stent keeps blood flow away from the diseased part of the wall of the blood vessel; at the same time, it provides a new surface lining for it. Oh, and the clear substance of the stent also features a material that resists blood clots. Wow! There is a ton of engineering in this deceptively simple little device that looks like it is just made of wire and rubber cement!