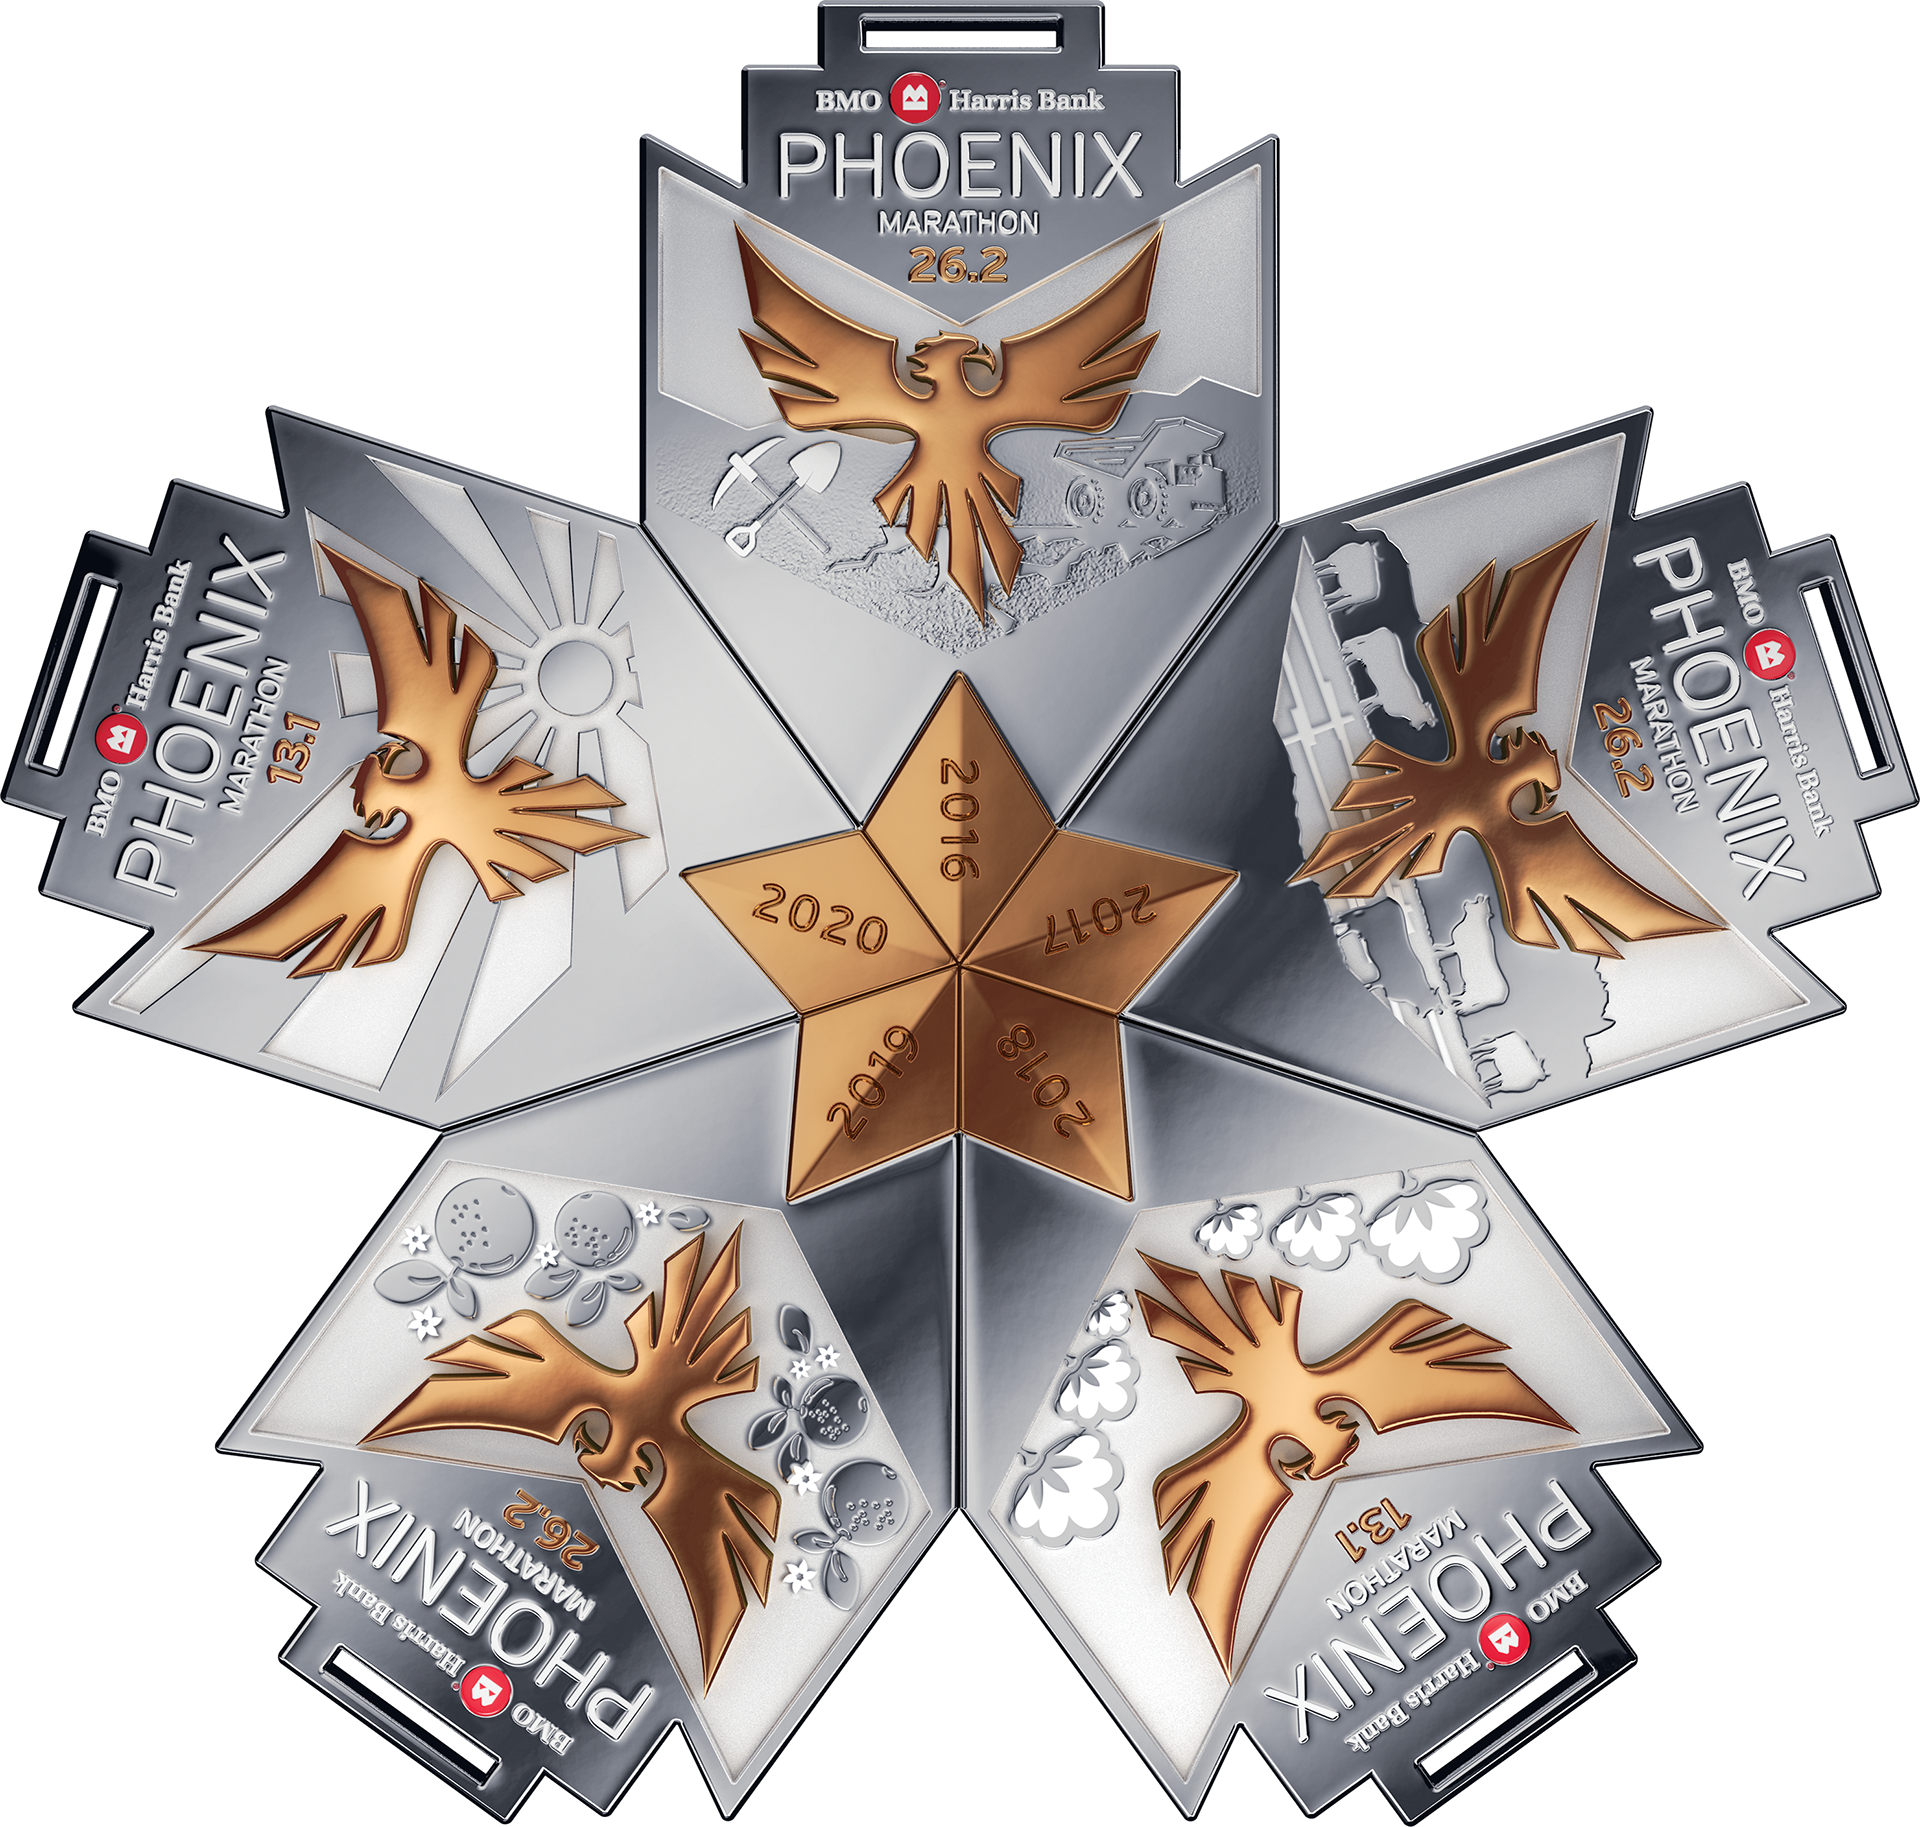
3D rendering of all five medals forming the copper star. The campaign says, “Earn the Bird and all the five C’s: Copper, Cattle, Cotton, Citrus and Climate — miles and miles of bragging rights.”
Peter Jones of Peter Jones Design had designed and illustrated flat art of five medals for the BMO Harris Bank Phoenix Marathon, but needed high-end, realistic renderings of the medals that would entice marathoners to want to collect all five. Beginning in 2016, after participants finish a full or half marathon for five years in a row, they will have earned the complete set of five medals representing the five C’s of Arizona: copper, cattle, cotton, citrus and climate. Once they have all five medals, they fit together to form a copper star. Using my Cinema4D 3D application, I transformed the flat shapes of the Adobe Illustrator artwork into polished, sculptured silver and copper metal.
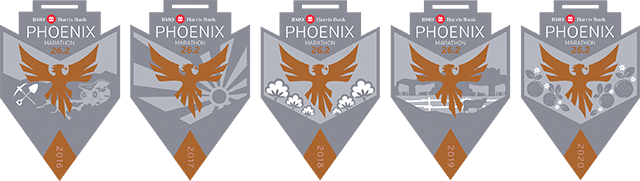
The original Adobe Illustrator artwork designed and illustrated by Peter Jones.
To begin the project, Peter gave me the Adobe Illustrator files of each of his medal designs. One challenge I faced was to retain the high amount of detail in the type at the top of the medal and the artwork for the five C’s near the middle.
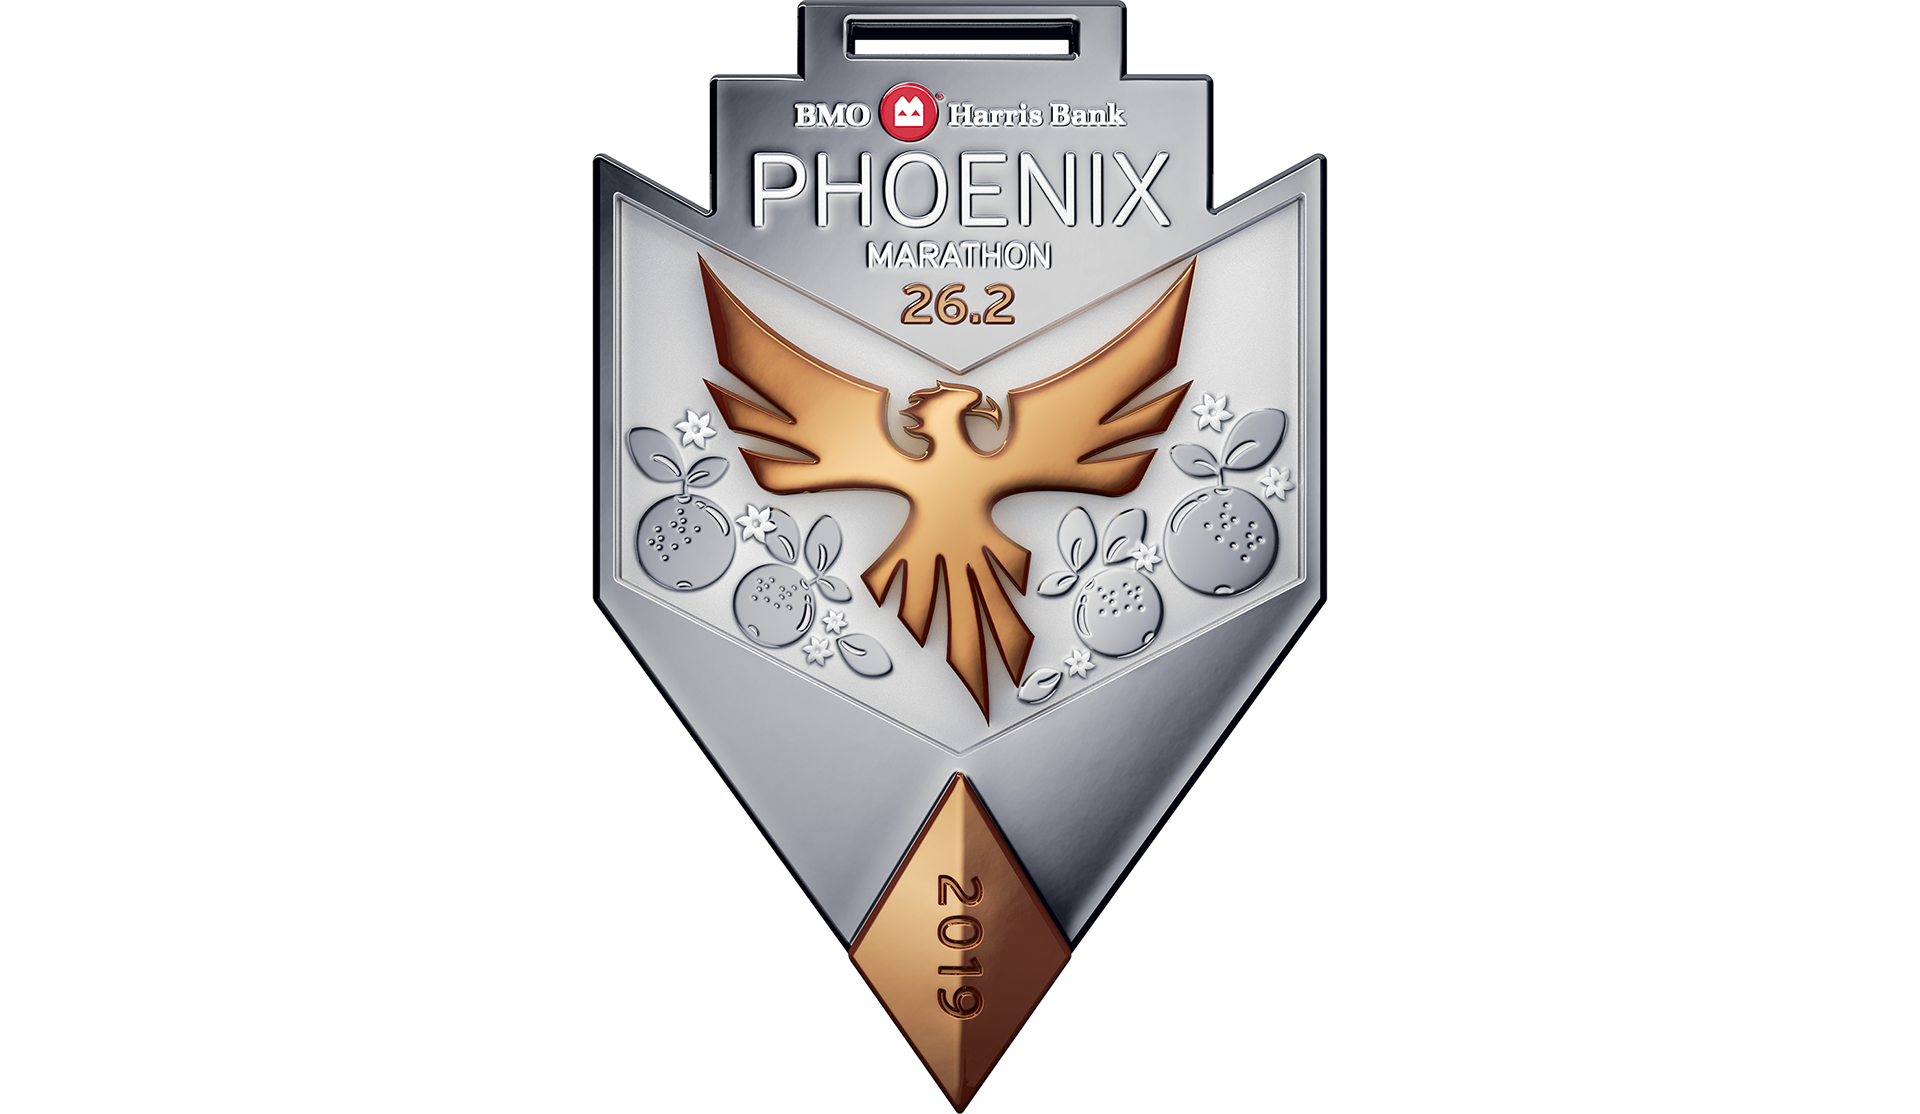
An individual rendering of the 2019 citrus medal.
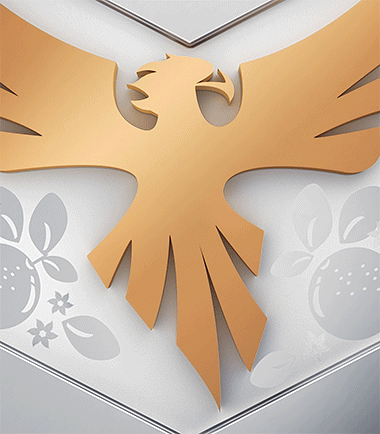
To create a sculptured appearance for the larger elements like the bird, star, and medal shape I constructed a 3D model. For the detailed elements, I chose a method similar to traditional bas-relief, which is a kind of sculpture in which shapes are carved so that they are only slightly higher than the flat background.

(Top Image) The flat art of the Adobe Illustrator file imported into Adobe Photoshop. (Bottom Image) A section of the final bump map texture. Careful blurring of the flat art controlled the amount of depth created in the final 3D rendering.
In a 3D modeling and rendering application, to create a bas-relief appearance you create a bump map texture, which is a grayscale image that holds depth information and can be created in Photoshop. Depth is created in the bump map texture through a combination of blurring the element and by making it lighter or darker than its background.
For example, to make the citrus appear to be raised from the background I made them lighter and blurred them. To make the citrus flowers appear raised even more I made them lighter than the citrus. Creating the bump map texture in Photoshop gave me complete control because I could place all the elements of the design on their own layers and adjust their values and blurriness separately from one another. In fact, most of the elements of the bump map texture are formed by more than one blurred layer. For instance, to create a more rounded appearance to the citrus I made them bulge out a little in the middle by adding a blurred layer above them that made them slightly lighter in the middle than they are at the edges. Once I was finished with all the tweaking, the Photoshop file for the bump map contained over 50 layers!
Animation of the bump map texture being increasingly applied to the 3D model. Turn it up!
In the end, I applied the bump map to not just the detailed elements, but to all the elements of the badge, including the bird, star, and medal shape. Especially for the copper bird, the bump map texture allowed me to carefully sculpt the surface and create the subtle variations in depth that occur in the real world.