I worked with Ben Dveirin, Associate Creative Director of Riester, to create a final illustration of his client-approved rough layout. We had three challenges facing us in creating the final illustration: 1) The photograph of the bingo balls worked well for the comp, but was too small to be used for the enormous final artwork for the bus wrap; 2) Each bingo ball needed to have a unique number; and 3) As a group, the bingo balls needed to be lit by a common light source. Cutting them out of a stock photograph and rotating them was not an option.
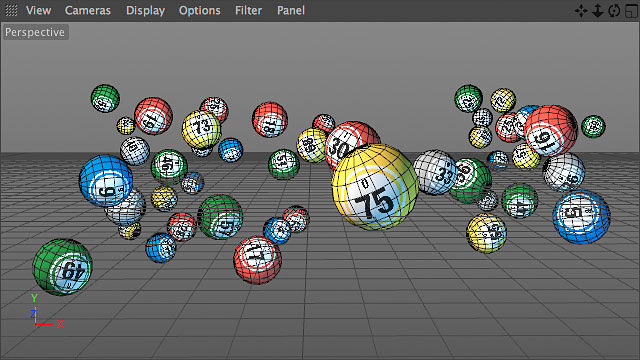
A screenshot of the 3D scene I constructed in Cinema 4D.
To conquer these challenges, I carefully reconstructed the comp layout of the bingo balls as a 3D model in Cinema 4D, where I also applied the bingo numbers and graphics and lit the scene with soft boxes. Once that work was completed, I specified the huge dimensions required for the bus wrap artwork and Cinema 4D did the rest of the work, rendering out the final image.
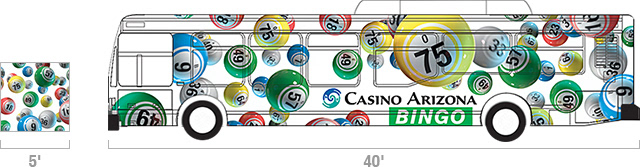
Left, the photograph used for the comp, but too small for the final artwork. Right, the client-approved comp.
The photograph used to build the comp was too small to create final artwork that would be 35,000 pixels wide. Unlike with outdoor boards, where you can get by with very low resolutions when working on projects with huge dimensions, bus wraps need a higher resolution, because they will be viewed up close by pedestrians and passengers in cars as well as from a distance.
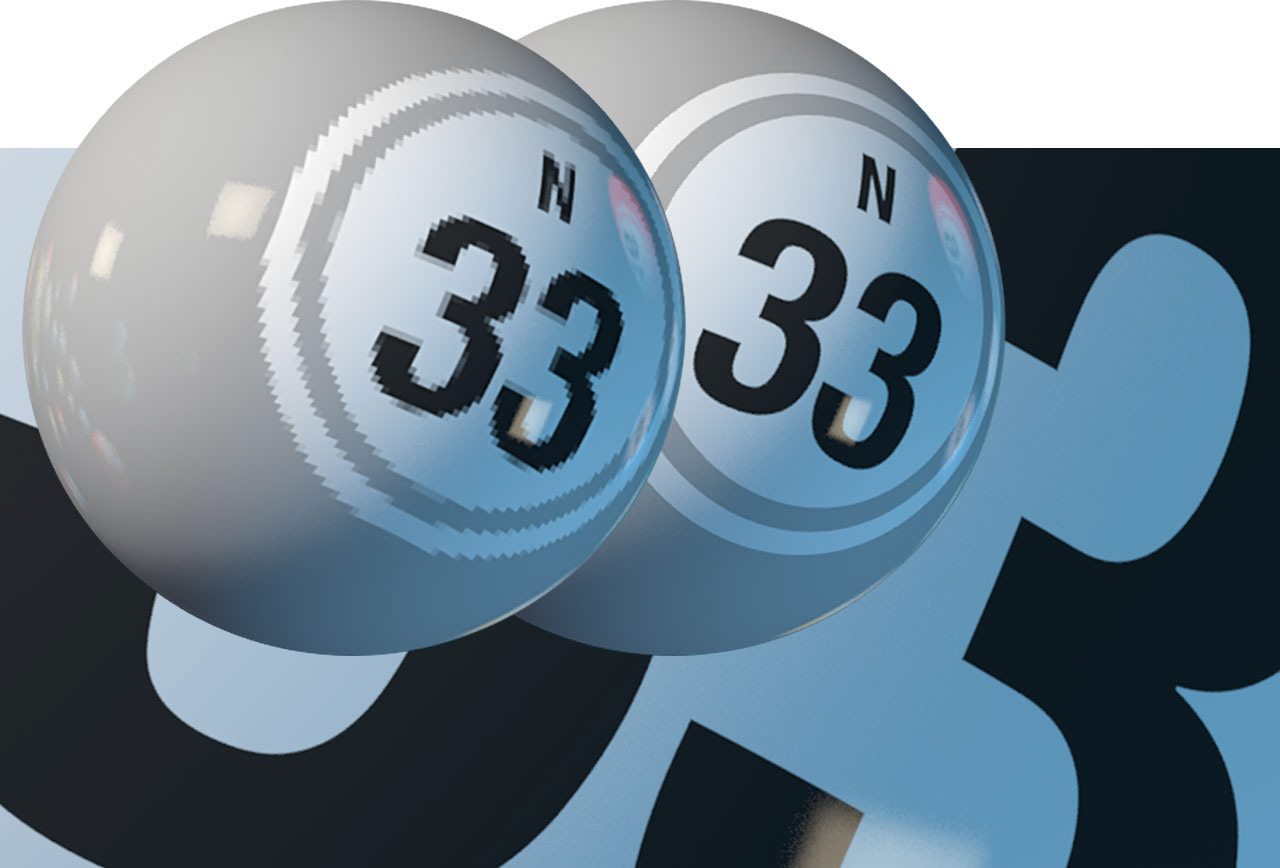
The bingo ball on the left suffers a pixelated appearance due to the use of a texture map whose resolution was too low. On the right, the texture map was created in Cinema 4D as resolution-independent art. This means it’s size can be increased even larger than the image shown behind the balls and it will always be sharp.
There are no limits to the size of images that can be rendered from the 3D application Cinema 4D. The sky is the limit! Still, elements of the 3D model such as the bingo ball number and ring graphic have to be constructed so they will look sharp in the final huge rendering. A common way to apply graphics such as the bingo ball number is to create the graphics as a bitmapped file in Photoshop and then apply it in Cinema 4D as a texture map. The problem that arises when working on a large-scale project is that the graphic has a pixelated appearance because the bitmapped file created in Photoshop was too small. I eliminated this problem using a feature in Cinema 4D that allowed me to create artwork in a resolution-independent vector format similar to artwork created in Adobe Illustrator.

Settings for the Spline Shader in the Material Editor panel from Cinema 4D. The number for the graphic is specified in the Text field.
I used a Spline Shader in Cinema 4D to create the number graphics for the balls. A spline is the same as a path in Adobe Illustrator and a shader is just a tool that helps you apply color and texture to a 3D object. Creating the number was as simple as typing the number into the Text field and specifying the text’s font, size, and color just as you would in any other software application.
Creating the number graphics using a spline shader also made it much quicker to apply a unique number to every ball. For each ball, I duplicated the texture that contained the spline shader, changed the number in the Text field to the new number, and applied the new texture to the new ball. If I had created the number graphics in Photoshop, I would have had to save out a separate bitmapped file for each of the 54 numbers that were used. The spline shader let me do it all within Cinema 4D.
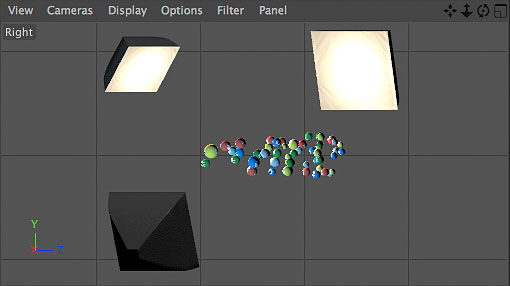
A side view screenshot of the soft boxes used to light the scene. The soft boxes created bright, rectangular highlights on the surface of the balls.
To emphasize the glossy surface of the bingo balls, I needed lights that would create bright, rectangular highlights on the surface of the balls. I chose lights that mimic the soft boxes of a professional photographer’s studio. The lights gave me full control over the size, intensity, color, and other characteristics of the soft boxes. I was even able to add a slight hot spot in the middle of the white face of the soft box along with subtle wrinkling towards the edges.

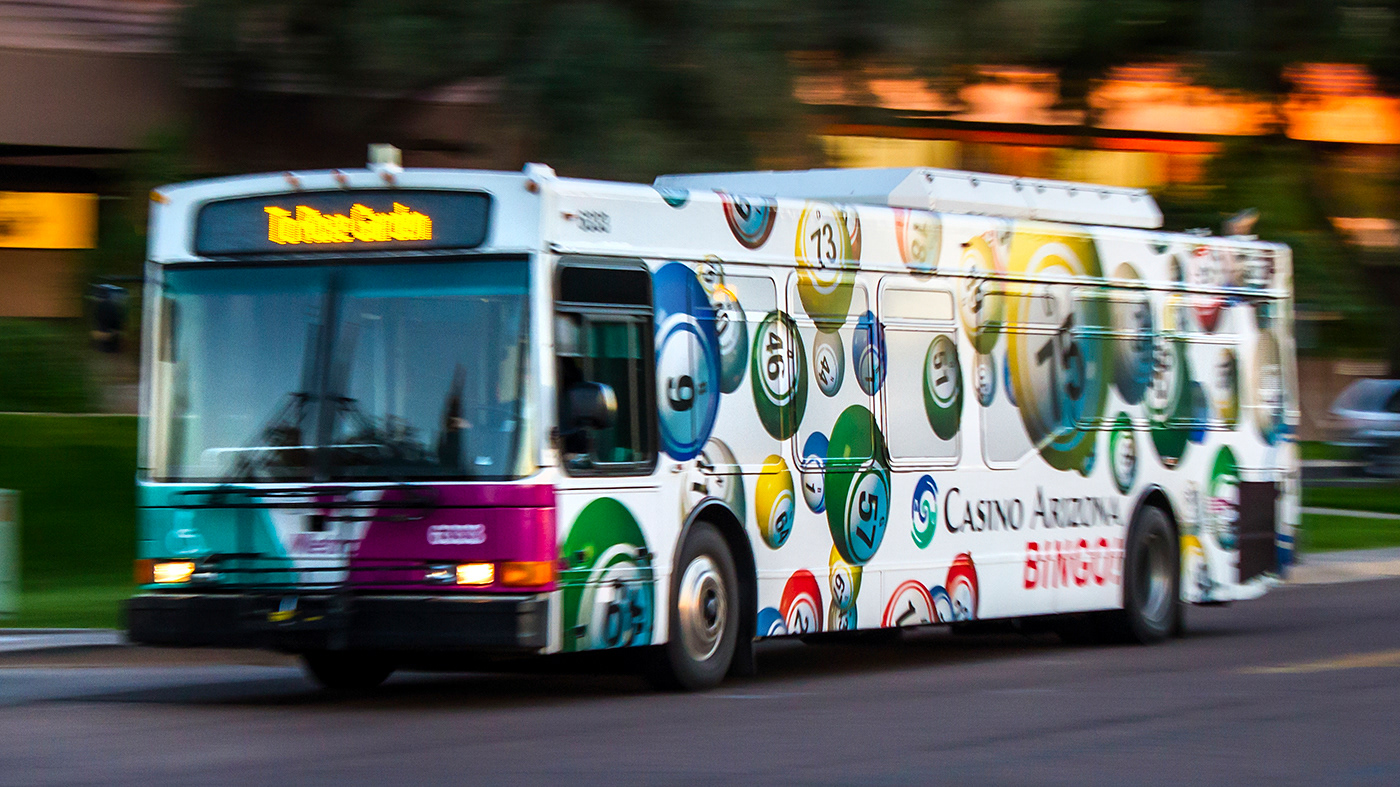
Detail of the final Casino Arizona bus wrap. Edges are smooth and sharp! On the glossy surface of each ball there are reflections of the soft boxes I used and the other balls nearby. Photo: Randy Geske.
After the installation of the bus wrap was completed and the bus was on the streets, I just had to hunt it down and get some photographs of it. Becky Stevens of Clear Channel Outdoor was a great help in my pursuit of the bus. Through her contact at Valley Metro she was able to tell me what bus route the bus would be driving that day. Once I got that information, it was time for a road trip!
Later, after the project was finished, I created this bouncy animation. Too bad the positioning of the bingo balls was not this quick and easy during the project!
If I can help you on one of your own projects, phone me at (602) 494-2777 or email me.